CLOUD 9 TUBS BLOG
Planning a bathtub replacement involves many important decisions that affect both the installation process and your long-term satisfaction. Asking the right questions before starting helps create realistic expectations and better outcomes. Professional installation provides proper waterproofing and code compliance, while quality materials give lifetime durability that makes the investment worthwhile. Cloud 9 Tubs LLC specializes in bathtub replacement in Manchester, NH , helping families transform their wet areas with durable solutions. We guide homeowners through every decision, from material selection to warranty protection, and help in creating bathroom spaces that serve families for decades.
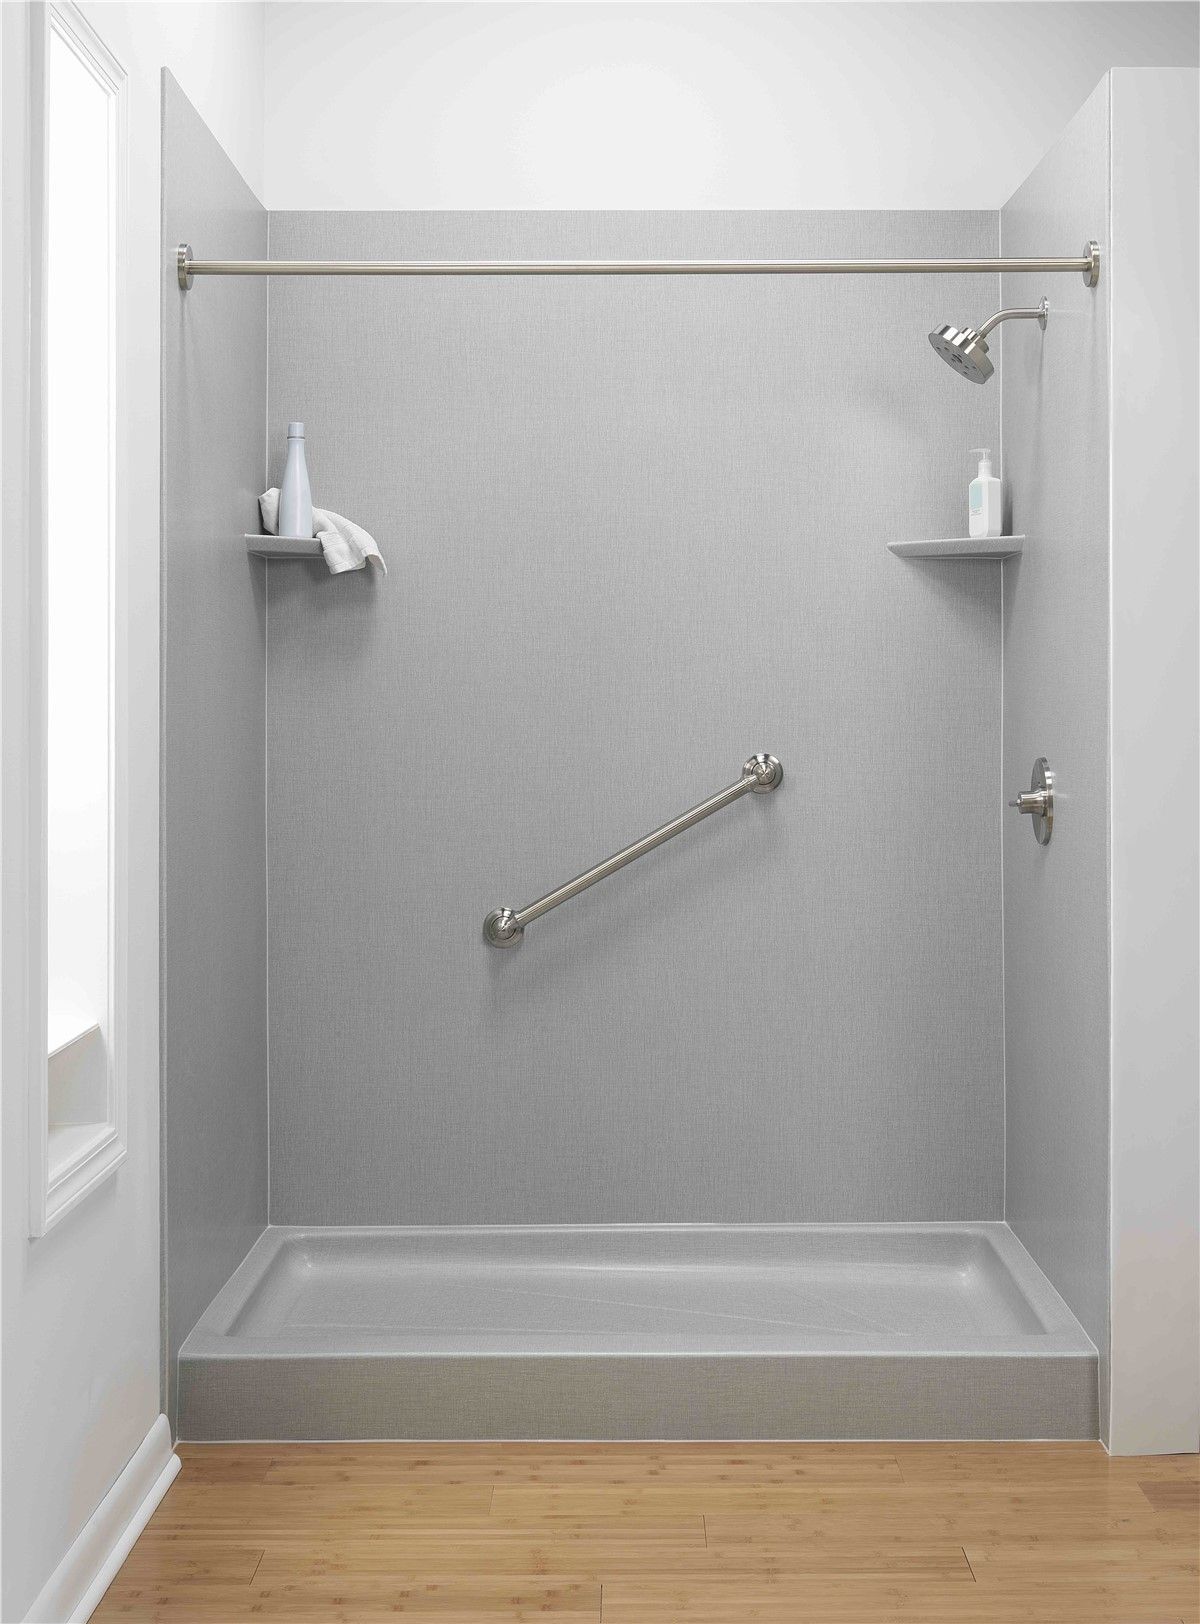
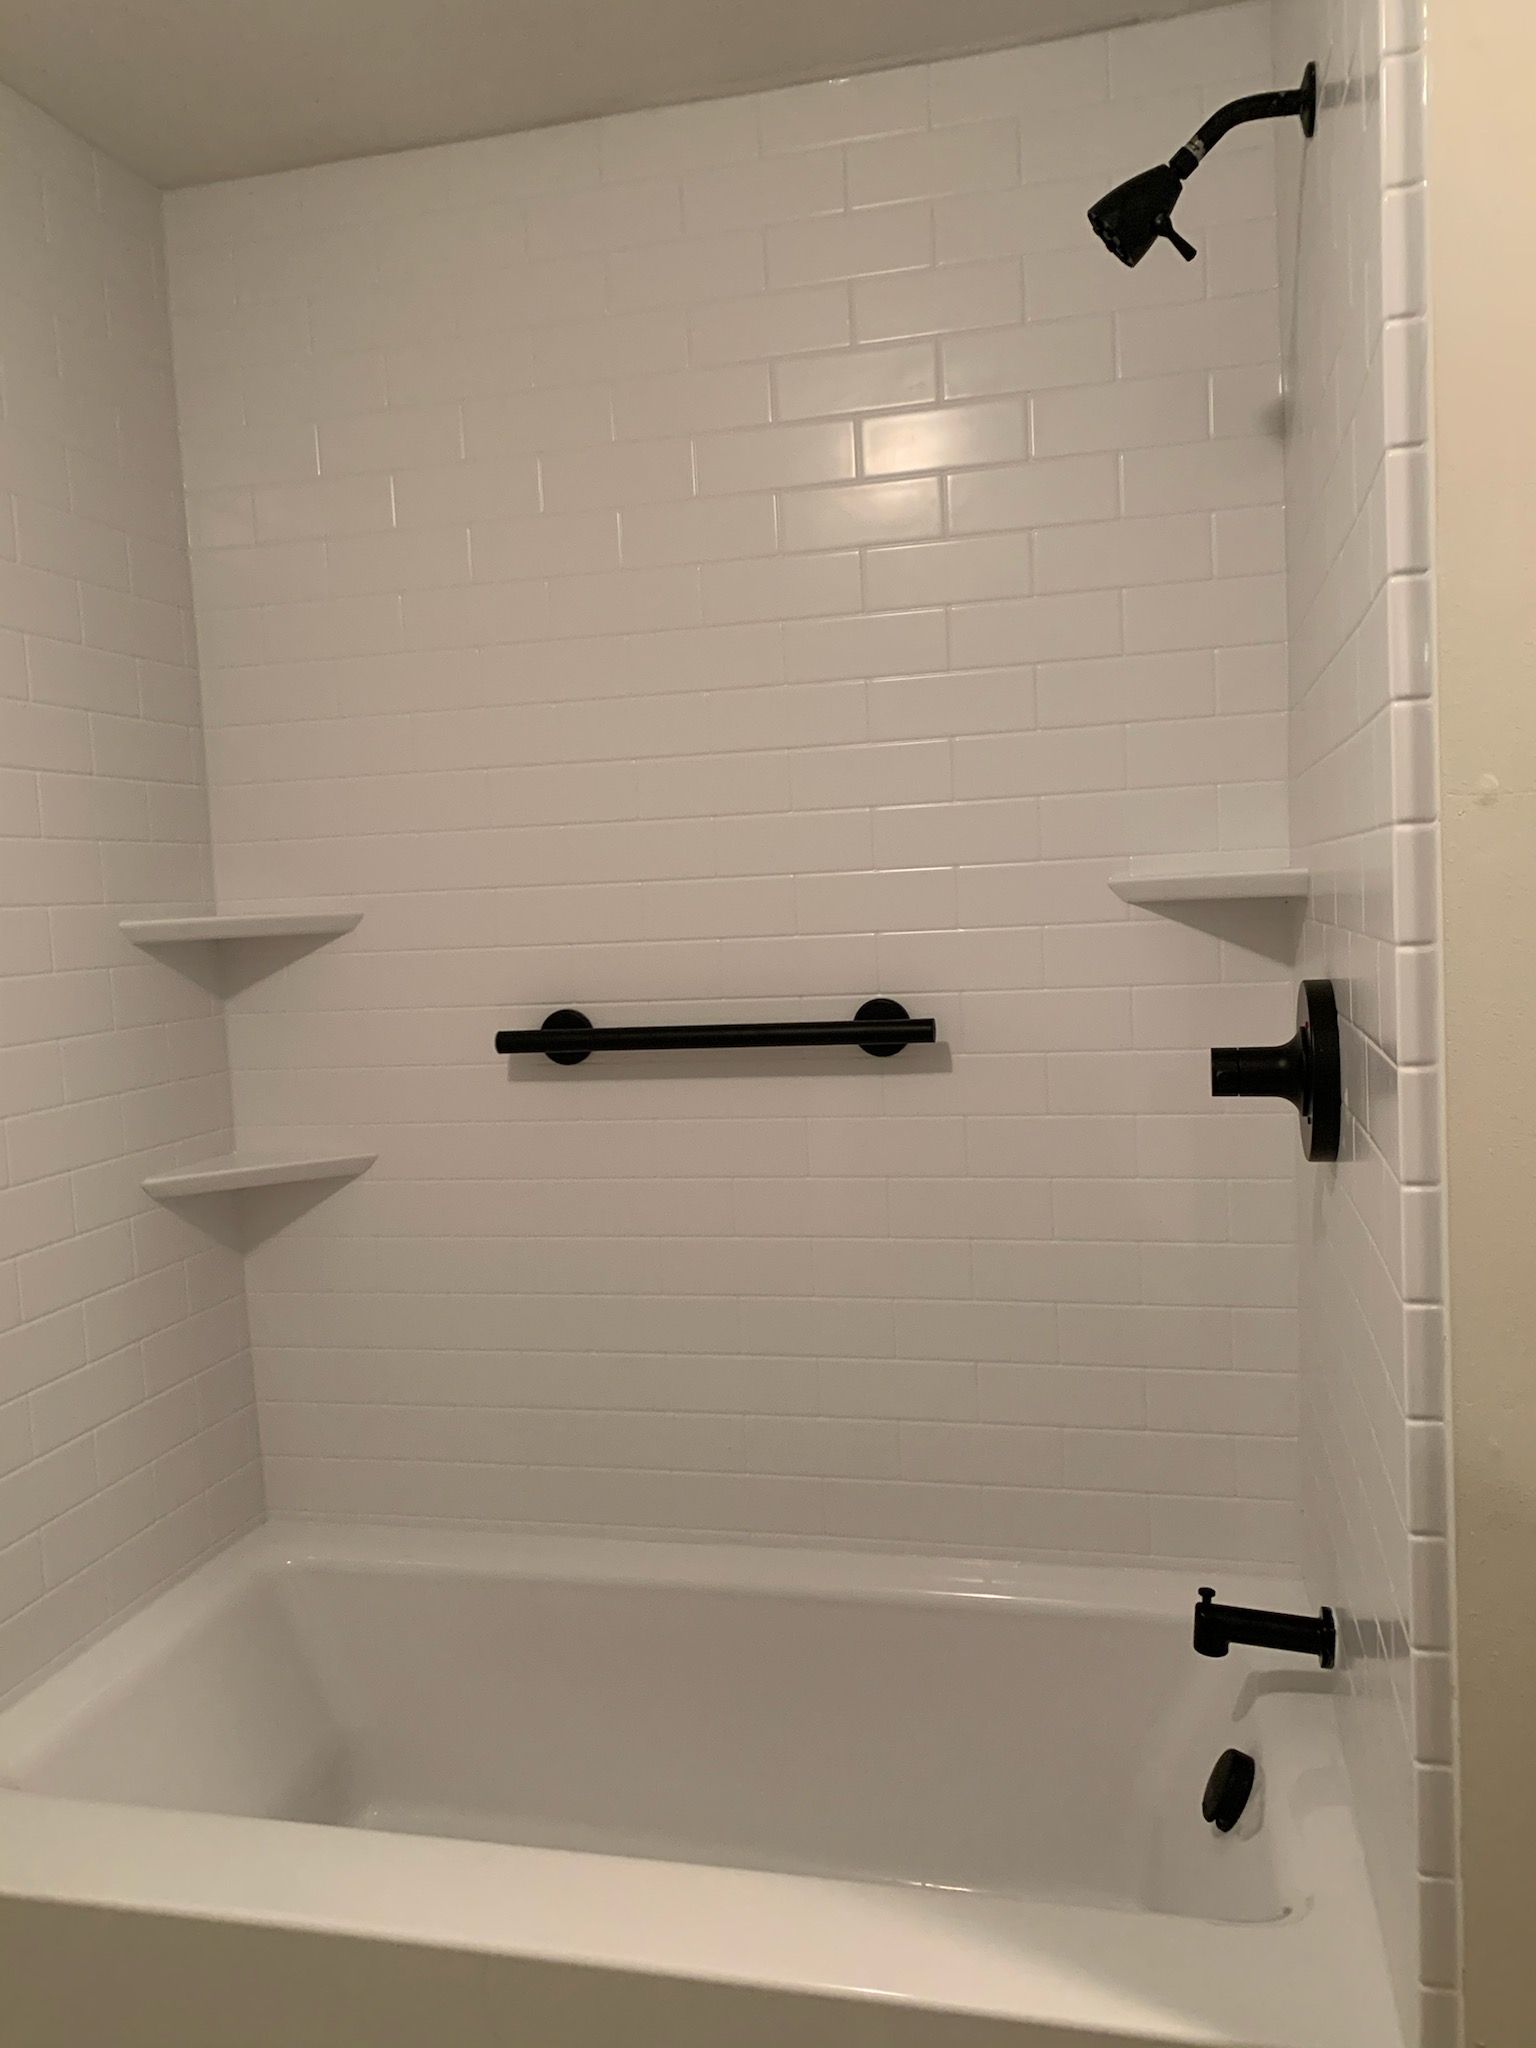
Choosing the right shower style transforms your routine showers from a mundane task into a refreshing experience that sets the tone for your entire day. The style you choose affects not only your daily comfort but also your home's functionality, accessibility, and resale value. Modern homeowners face an abundance of shower replacement options, from traditional alcove designs to luxurious walk-in installations. Each style offers unique benefits for different bathroom layouts, user needs, and budgets. Understanding these options helps you make informed decisions that enhance your daily routine while preparing your home for future requirements. At Cloud 9 Tubs LLC , we guide Manchester, NH, homeowners through every aspect of shower replacement, from style selection to professional installation. Our years of experience with shower replacement in Manchester, NH , help families create bathrooms that work for their current lifestyle while adapting to changing needs over time.
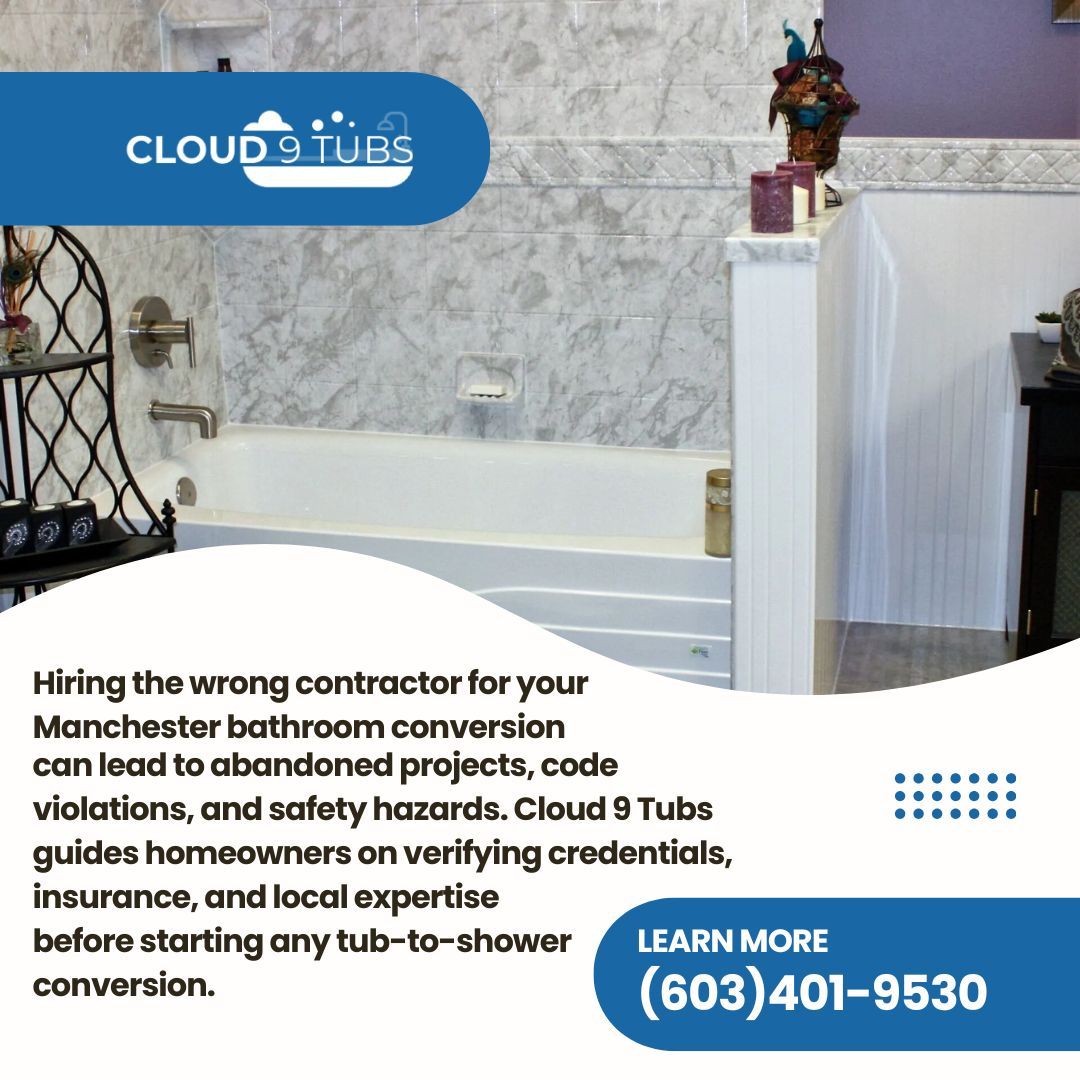
Converting your bathtub to a shower is a big decision that affects your daily life and home value. Finding the right contractor for your bathroom conversion in Manchester, NH requires careful evaluation of credentials, experience, and business practices. The best professionals carry proper insurance, maintain local experience, and provide clear communication throughout your project. They offer written estimates, warranties, and transparent pricing that protect your investment. At Cloud 9 Tubs LLC , we understand that homeowners need honest guidance when selecting contractors for their tub-to-shower conversion projects. With years of experience in bathroom remodeling, we've seen both excellent work and costly mistakes that result from poor contractor selection. Our owner personally handles every consultation, providing the educational approach and transparent advice that help you make informed decisions about your shower conversion project. This guide will help you identify reliable professionals and avoid the common pitfalls that lead to project delays, cost overruns, and substandard work.

Choosing between DIY and professional bathtub installation is a critical decision. While DIY projects might appear to offer immediate savings on labor expenses, professional installation provides lifetime warranties, proper waterproofing, and compliance with building codes that protect your investment long-term. Cloud 9 Tubs LLC has helped countless New Hampshire homeowners navigate this decision by providing expert guidance, quality materials, and professional services that deliver lasting results. When evaluating your Laconia walk-in bathtub installation options, consider your experience level, available time, safety requirements, and the long-term value of professional workmanship. With this guide, we intend to help you understand the key differences between DIY and professional approaches so you can make the best decision for your home and family.

Many homeowners who have replaced showers have discovered that their project costs more than initially expected. Beyond the visible costs of materials and labor, shower replacement projects often reveal unexpected expenses that weren't included in initial quotes. Understanding these potential costs helps you budget accurately and avoid unpleasant financial surprises. The most common unexpected expenses include water damage repairs, plumbing system upgrades, permit fees, mold remediation, and structural modifications. These additional costs can add substantial amounts to your project budget, depending on the scope and condition of your existing bathroom. At Cloud 9 Tubs LLC , we provide transparent pricing and discuss potential additional costs upfront, so you can plan your budget with confidence and avoid the stress of unexpected expenses during your shower replacement in Laconia, NH .

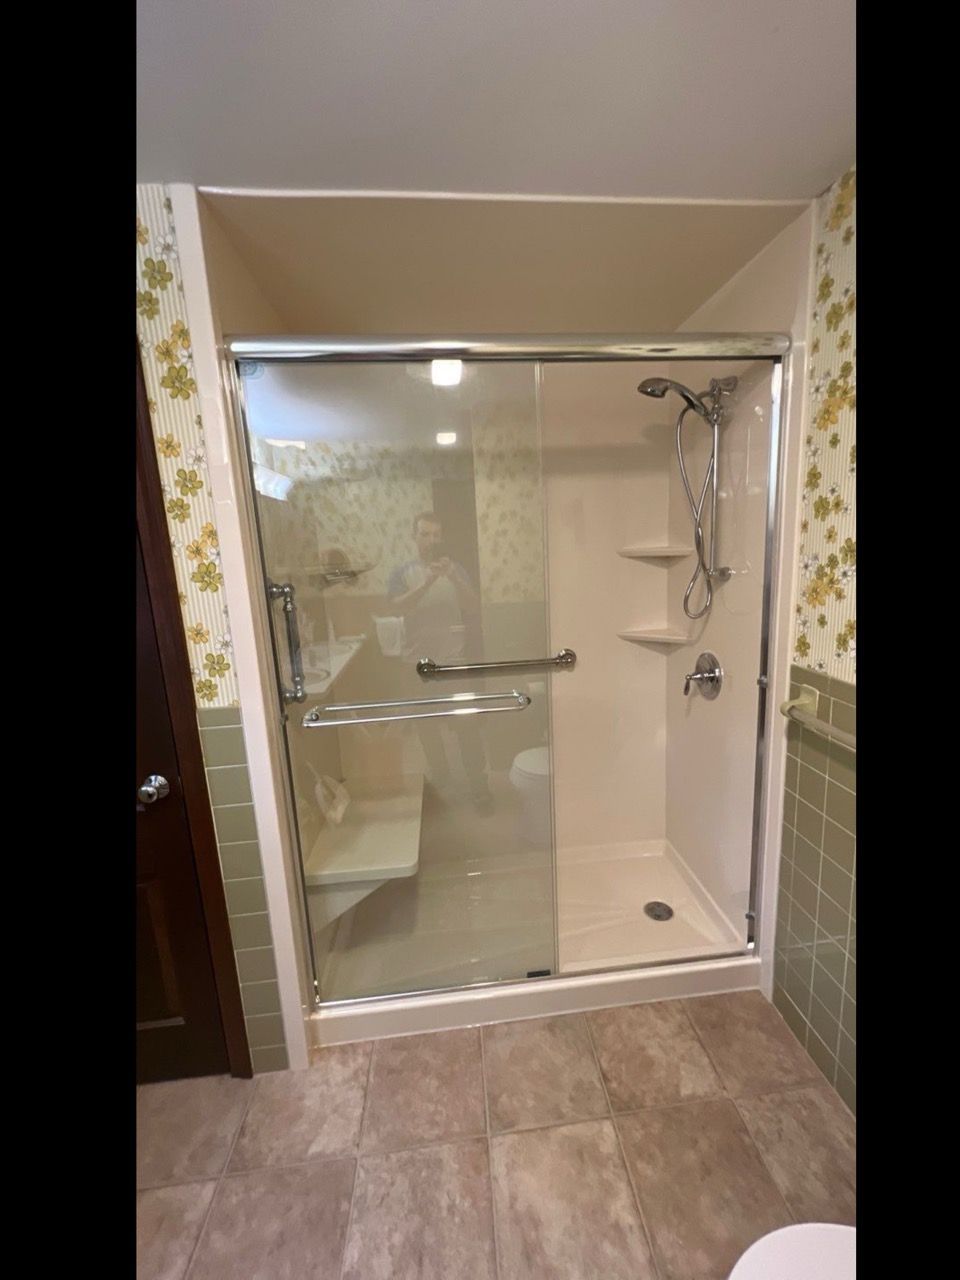
Walk-in showers have become the centerpiece of modern Laconia bathroom renovations, with exciting new trends that combine style with practicality. Homeowners throughout the Lakes Region are moving beyond traditional setups and opting for sleek, open-concept spaces that maximize both style and practicality. From frameless glass enclosures to built-in seating, Laconia residents are embracing designs that enhance accessibility while delivering the luxury they desire. The shift toward walk-in showers reflects broader changes in how we think about bathroom spaces. Modern families want functional luxury that serves multiple generations, from young children to aging parents. As homeowners seek a balance between luxury and practicality, walk-in showers have become a must-have design element, offering seamless accessibility, sleek visuals, and a spa-like ambiance. Cloud 9 Tubs LLC has seen distinct patterns in what homeowners request for walk-in shower installations in Laconia, NH . These trends reflect both practical needs and design preferences that are shaping bathroom renovations throughout the Lakes Region. Whether you're converting from a bathtub or upgrading an existing shower, understanding these current trends helps you make informed decisions.
Discover when bathtub replacement is more cost-effective than repair for your Nashua home. Cloud 9 Tubs offers same-day installation, lifetime warranties, and lasting solutions to stop recurring leaks. Call (603) 401-9530 today.
Upgrade your Nashua bathroom with a safe, low-maintenance walk-in shower from Cloud 9 Tubs. Enjoy enhanced accessibility, modern design, and lifetime warranty protection with our one-day conversions. Call (603) 401-9530 today.
Most bathtub installers in Nashua don’t offer genuine lifetime warranties. Cloud 9 Tubs provides lifetime coverage on both materials and labor, using USA-made acrylic and proven installation techniques for decades of reliability. Call (603) 401-9530 today.

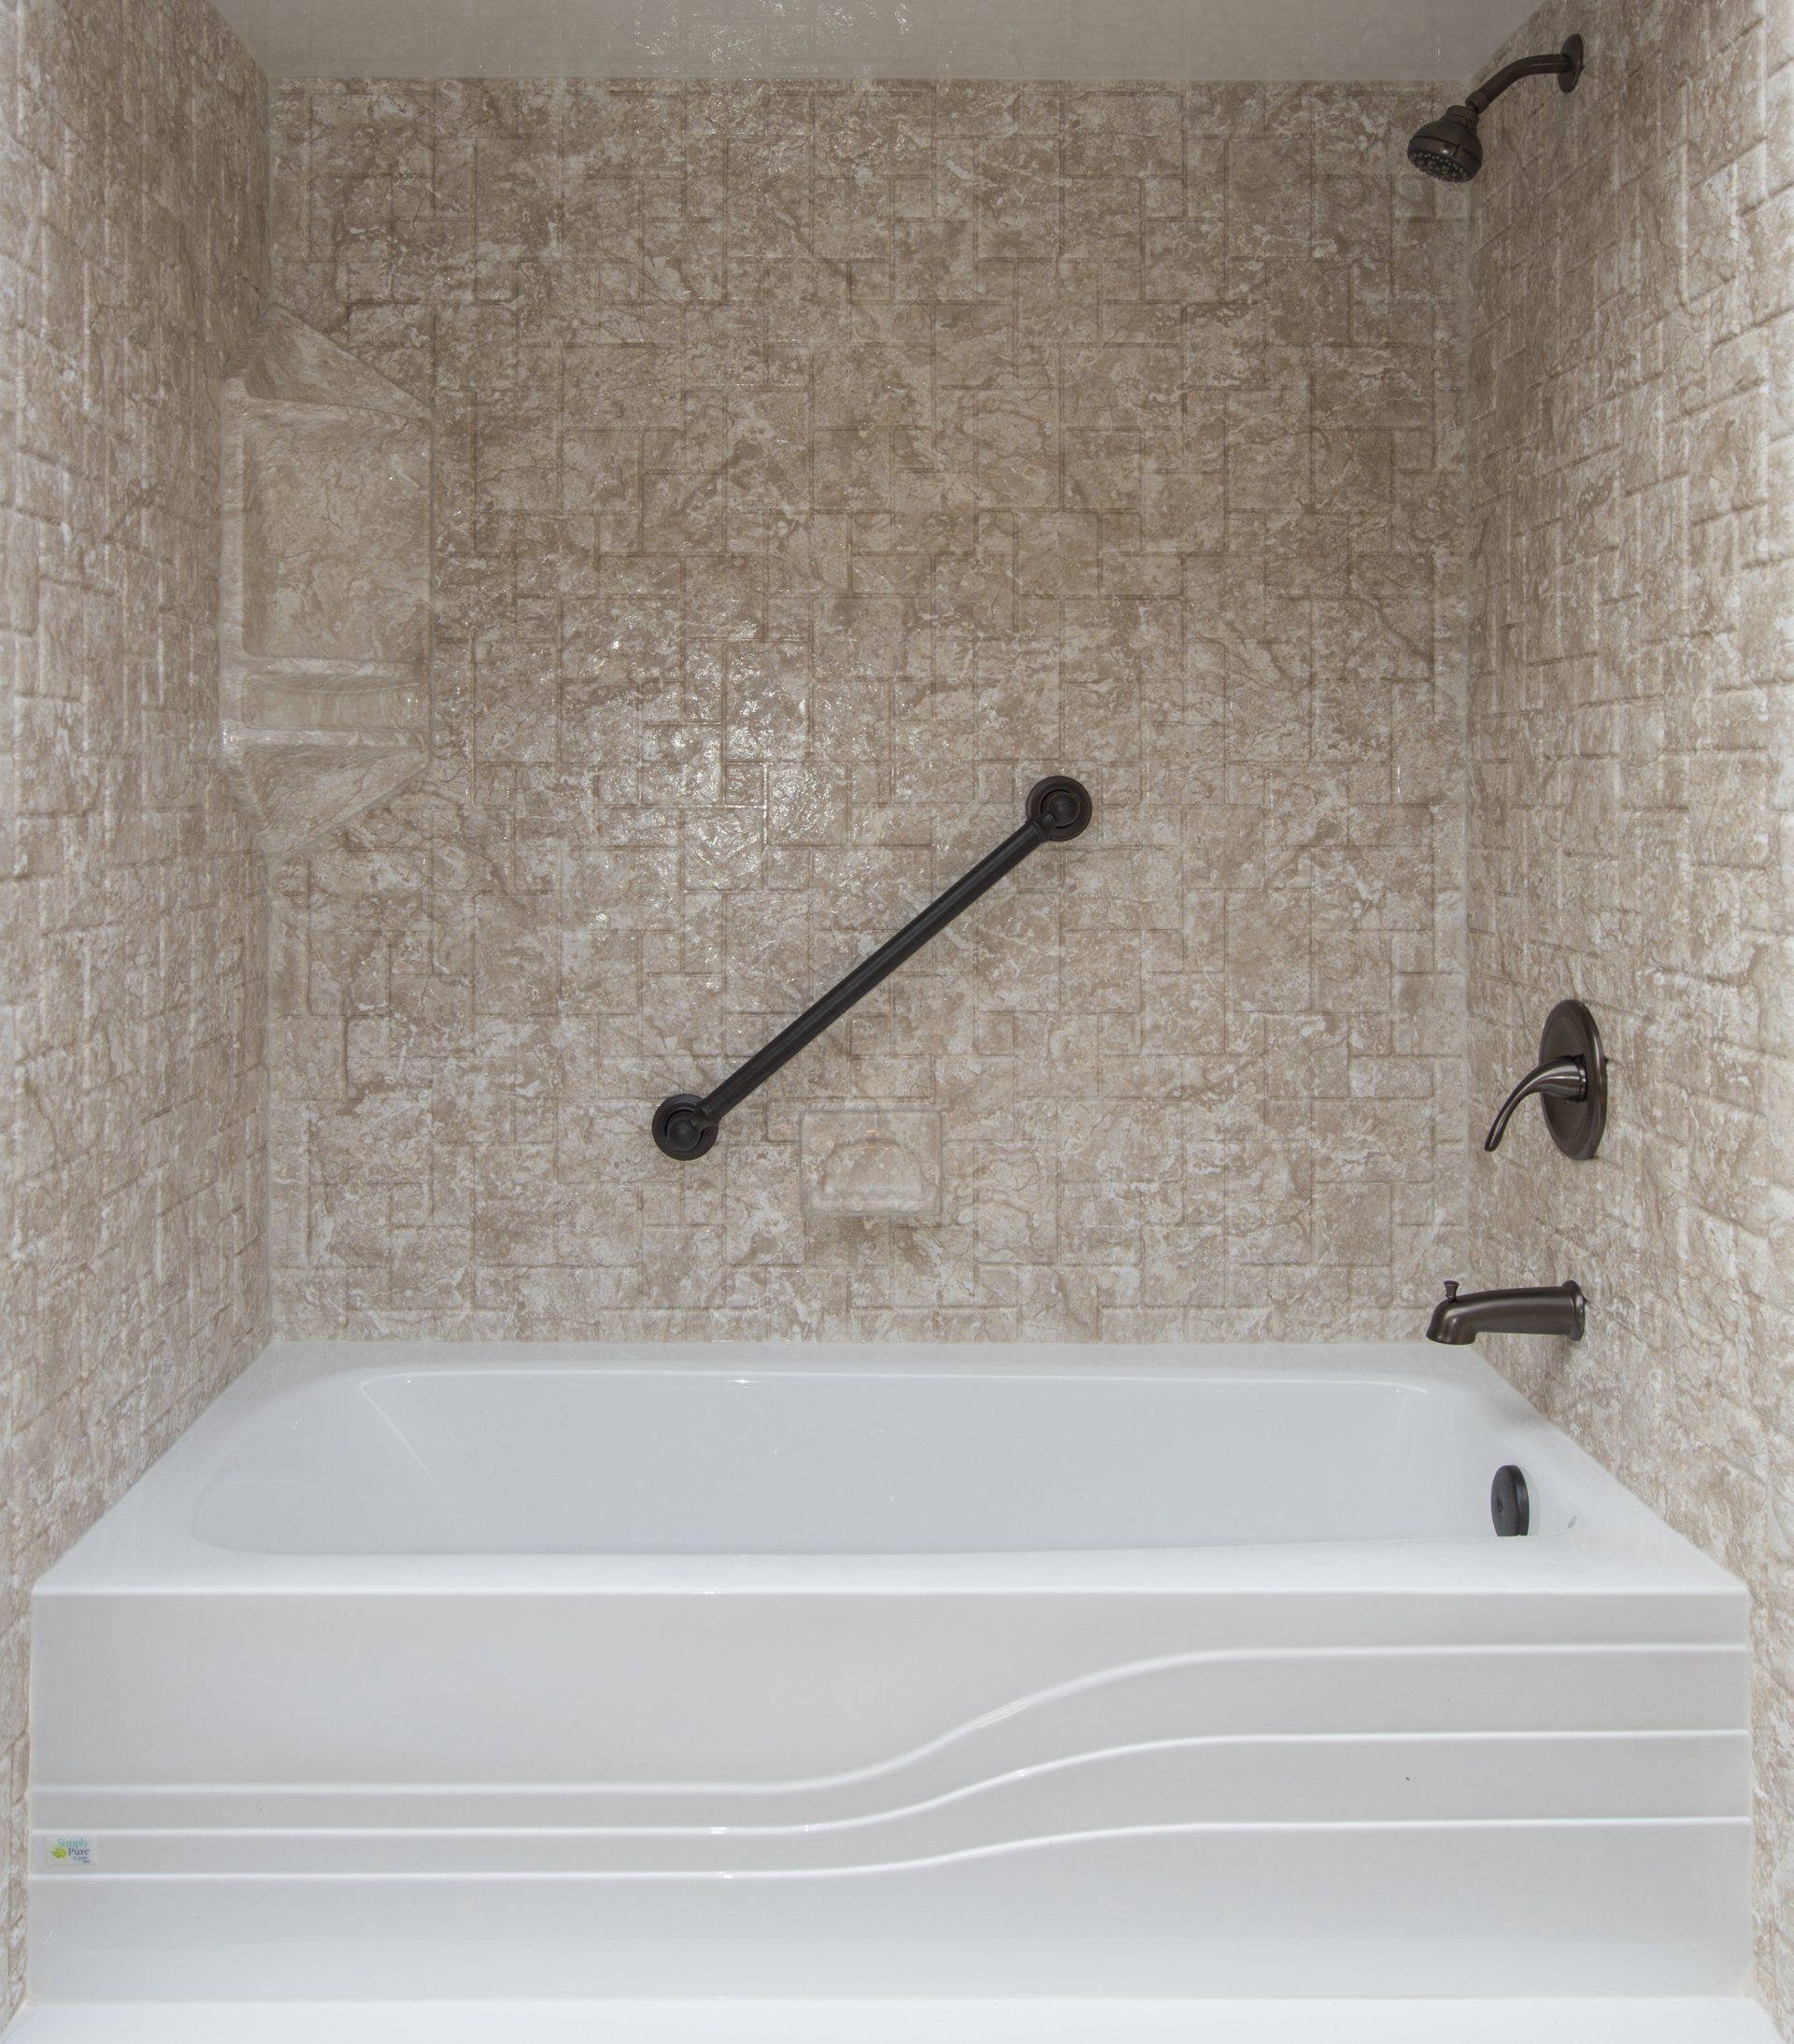
More homeowners across Dover, NH, are choosing to convert their bathtubs into showers. In homes where a traditional tub is no longer suiting the daily needs, it’s a practical way to make bathrooms more accessible, reduce upkeep, or make better use of space. But while a bathtub-to-shower conversion can bring real improvements, it’s not without challenges. If certain details, like drainage, waterproofing, or structural compatibility, are overlooked, the upgrade may not last as long or perform as well as expected. These avoidable issues are usually caused by rushed or incomplete installations. At Cloud 9 Tubs LLC , we take a practical, detail-oriented approach to getting tub-to-shower conversions right the first time. We’re based locally and understand the specific conditions and layouts common in homes across the region. Our work is built on clear planning, durable materials, and attention to detail. So homeowners can enjoy long-term results without second-guessing the process. In this article, we’ll walk through five of the most common mistakes we see during tub-to-shower conversions and explain how to avoid them for a smoother, longer-lasting outcome. Mistake #1 – Overlooking Plumbing Compatibility Why Plumbing Needs Attention in a Tub-to-Shower Conversion Ignoring existing plumbing layouts can create drainage problems and raise long-term maintenance risks. When converting a bathtub to a shower , it’s not just about surface upgrades. Drainage systems designed for tubs may not support the flow requirements of showers. Showers need faster, more consistent drainage, which calls for proper pipe sizing and slope. According to most plumbing codes, bathtubs typically use 1½-inch drains, while showers generally require 2-inch drains, though specific requirements vary by local jurisdiction and should be verified with Dover's building department. This means a tub-to-shower conversion usually involves upgrading the drain size. Making this change helps the system meet the current code, reduces the chance of clogs, and supports better long-term performance. Another common issue is the slope. Shower drains need a steady pitch, typically ¼ inch per foot, to keep water moving efficiently and prevent pooling. If the slope isn’t right, pooling can occur, which increases the risk of leaks and mold behind the walls or under the floor. At Cloud 9 Tubs, we start every tub-to-shower conversion by evaluating the existing plumbing. That includes checking pipe condition, layout, and access. This step helps us prevent delays later and ensures the new shower performs reliably. Skipping this kind of planning is one of the most common and expensive mistakes. The Cost of Plumbing Changes Plumbing changes can increase costs when joists, foundations, or wall layouts interfere with access. Homes with slab foundations often require breaking concrete to move pipes. This adds both time and expense. In homes with joist-supported floors, access may be easier, but joist direction and spacing can limit how far a drain can shift. Wall-mounted shower valves also need proper alignment. In tight spaces, adjusting water lines within the wall may require opening multiple sections of drywall. Every added change increases labor and material costs. At Cloud 9 Tubs, we assess structural elements before beginning a bathtub-to-shower conversion. This reduces delays and keeps projects on budget. Mistake #2 – Selecting the Wrong Shower Base Size and Fit Problems Fit and alignment issues can occur because not all tub footprints match the measurements of typical shower pans. Bathtubs are usually 60 inches long, but their depth and width vary. Many prefabricated shower pans come in set dimensions that don’t always match the exact shape or space of a removed tub. This mismatch can create gaps, force awkward wall cuts, or leave uneven flooring exposed. It can also interfere with drain placement or limit door style options. When working with smaller or irregular bathroom layouts, it's important to choose a base that fits within the space without forcing major changes to plumbing or framing. A custom pan or site-built solution may be the better choice in tight quarters. Base Material Considerations The type of shower base you choose affects installation, care, and long-term performance. At Cloud 9 Tubs, we use acrylic bases for most tub-to-shower conversions because they’re durable and easy to maintain. Acrylic is non-porous, so it resists mold growth and keeps cleaning simple. The material is also lightweight and pre-formed, making installation faster and more consistent. When properly supported, acrylic provides a solid feel underfoot. We take extra care during installation to prevent any flexing or movement that could lead to stress over time. Given New Hampshire’s humidity and seasonal shifts, acrylic is a material that offers reliable performance with less upkeep.